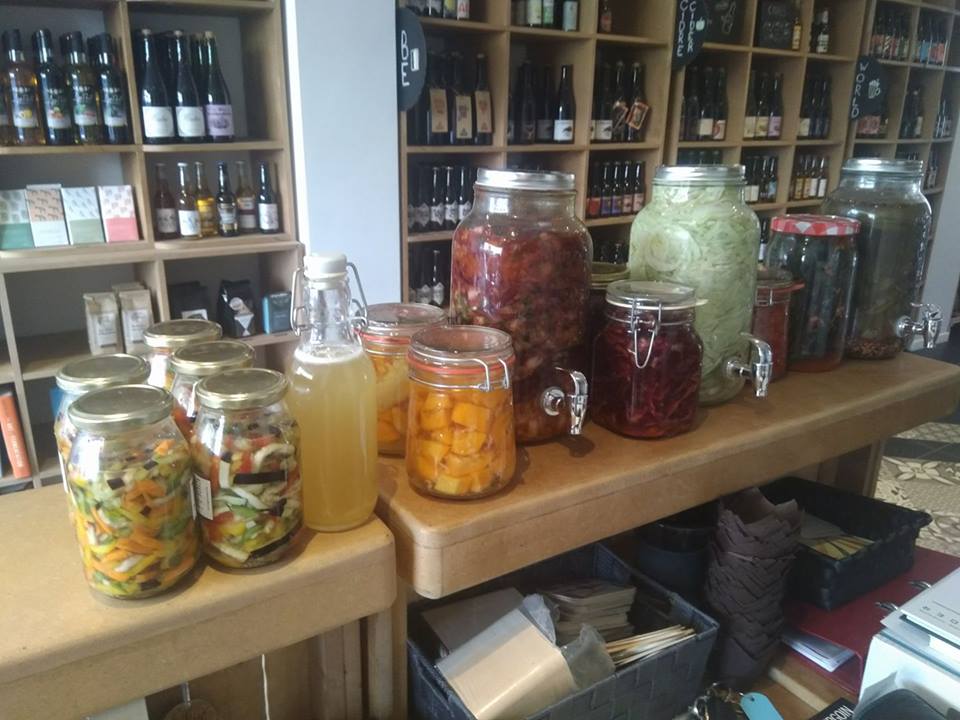
Lactofermentation: A Beginner’s Guide to Preserving Flavor and Nutrition
The Historical Roots of Fermentation
Fermentation may seem like the latest culinary trend, but it’s actually an ancient art. For millennia, cultures worldwide have harnessed the power of microbes to preserve their harvests. From the vineyards of ancient Mesopotamia to the cabbage fields of Europe and the rice paddies of Asia, fermentation has given us wine, beer, bread, and other staples that define global cuisines.
During the post-WWII era, modern refrigeration and convenience stores made preservation methods like fermentation less critical. But today, fermentation is making a triumphant return, thanks to champions like Sandor Katz and Kirsten and Christopher Shockey. Why? Because fermented foods not only retain their nutrients but also develop complex, intriguing flavors. Plus, fermentation is a fantastic way to reduce food waste, turning scraps and surplus into culinary gold. As we like to say: “Why waste it when you can taste it?” (Learn more here).
What is Lactofermentation?
Lactofermentation is the process of using salt to create an environment where lactic acid bacteria (LAB) thrive. These bacteria break down sugars in vegetables and fruits into lactic acid, which acts as a natural preservative and gives fermented foods their signature tang.
Key points to remember:
- No Dairy Involved: Despite its name, lactofermentation has nothing to do with milk. The “lacto” refers to lactic acid, a byproduct of this microbial process.
- Balance is Key: Too much salt, and the bacteria won’t activate; too little, and harmful microbes might take over. Achieving the right balance of salt, temperature, and air exposure is crucial for success.
- It’s a Living Process: Understanding the factors of temperature, light, and air contact will help you guide your ferment to flavorful success.
Tools of the Trade
Starting your fermentation journey doesn’t require fancy equipment. Here’s what you need:
- Vessels: Classic ceramic crocks are beautiful and functional, but a simple weck jar works perfectly for small batches.
- A Scale: Precision is vital for calculating salt percentages.
- A Knife or Mandoline: For shredding vegetables evenly.
- Optional Extras: Airlock lids or fermentation weights can help maintain an anaerobic environment.
Technique 1: Dry Salting (Perfect for Sauerkraut)
Dry salting is a hands-on method ideal for cabbage and its relatives.
- Choose the Right Salt: Opt for mineral-rich salts like Sel de Guérande or Himalayan salt. Avoid iodized or industrial salts with additives.
- Prepare Your Workspace: Wash hands with regular soap and rinse your tools and vegetables with water. Avoid antibacterial soaps that could harm beneficial microbes.
- Shred and Salt: Thinly slice your cabbage using a knife or mandoline. Add 2% salt by weight of the cabbage, and massage it vigorously until it releases its juices.
- Pack and Submerge: Pack the cabbage tightly into your vessel, ensuring it’s fully submerged in its brine. Use a cabbage leaf or weight to hold it down.
- Ferment and Monitor: Leave the jar at room temperature for a couple of weeks, checking daily to ensure the cabbage stays submerged. Taste as you go!
Technique 2: Brine Pickling (Perfect for Whole Vegetables)
Brine pickling involves submerging vegetables in a saltwater solution.
For detailed steps, check out our dedicated article on Brine Pickling.
Troubleshooting Common Issues
- Oversalting or Excessive Sourness:
- Repurpose overly salty or sour ferments as relishes, salad dressings, or stew flavor enhancers.
- Thick Brine:
- Thick brine is common with vegetables like beets. If it’s due to high temperatures, move the ferment to a cooler spot and allow it to rest for a month.
- Mold or Off Smells:
- Mold on the surface can be removed. However, if the ferment smells rotten or rancid, discard it.
